How to Do:
1. Setup:
- Choose a clean, flat workspace.
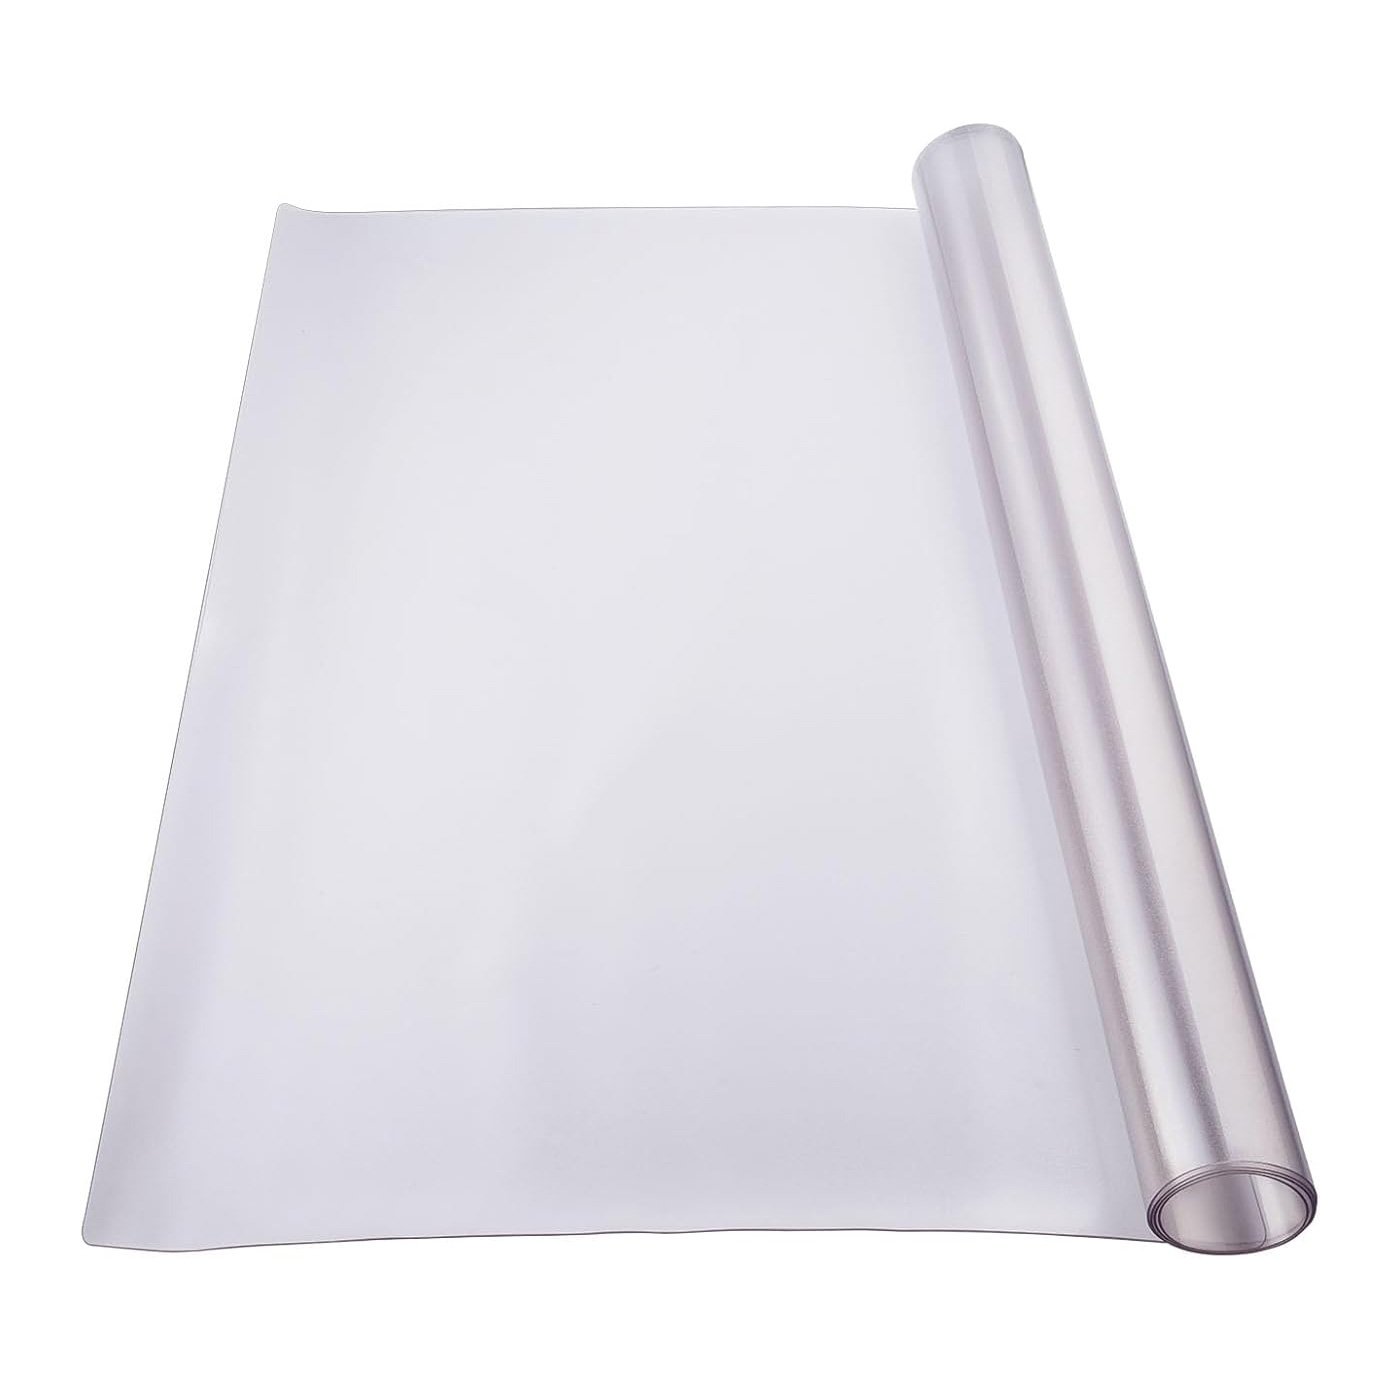
- Place a plastic placemat or wax paper to protect the surface.
- Arrange the clay and tools for easy access.
- Prepare 10 object picture cards (face up or face down for added imagination/surprise).
2. Activity Steps:
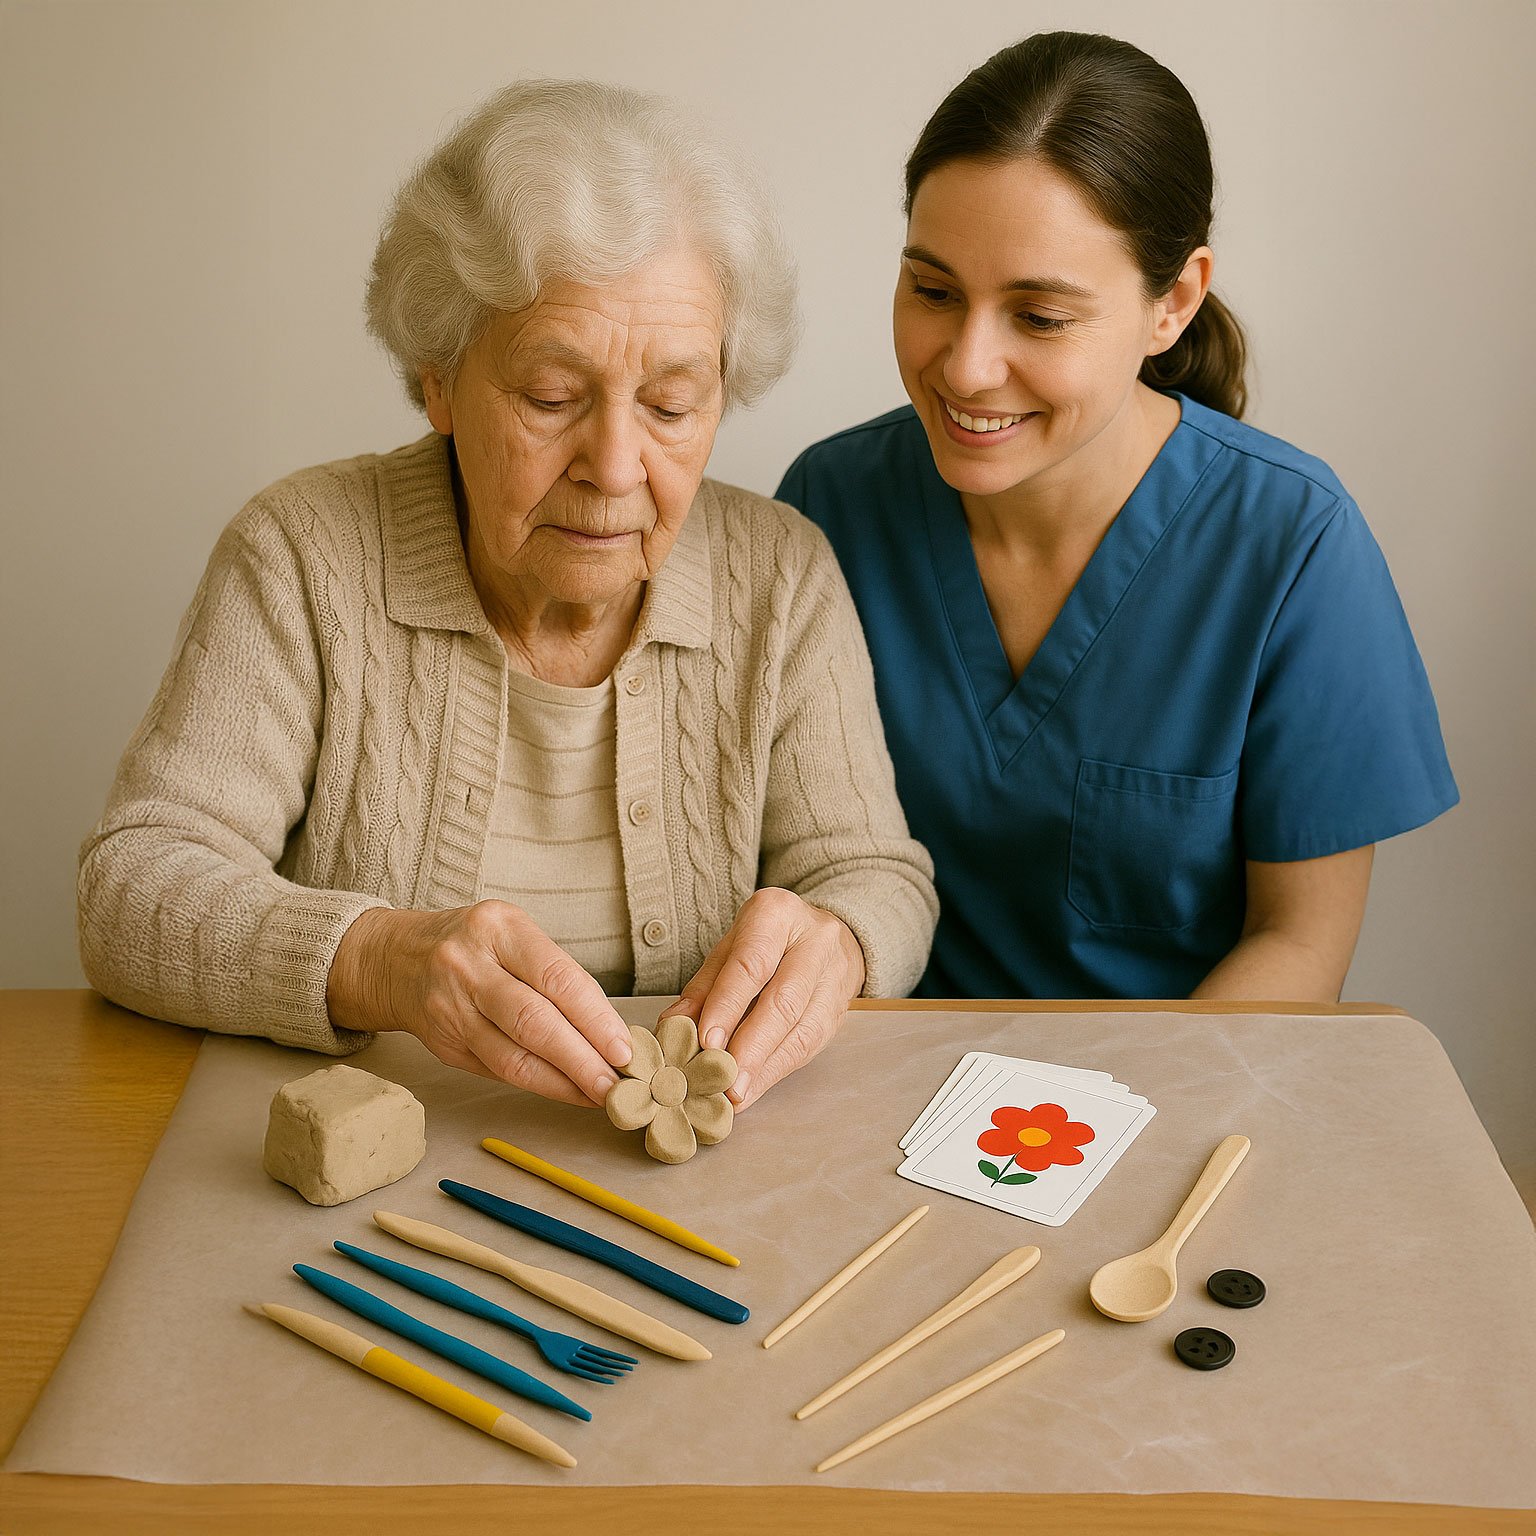
- Step 1: Choose a Card
– Ask the Participant to select a card from the pile.
◦ Cards can be placed face up for direct inspiration or face down for a surprise element.
– Show the chosen picture to inspire the creation.
- Step 2: Prepare the Clay
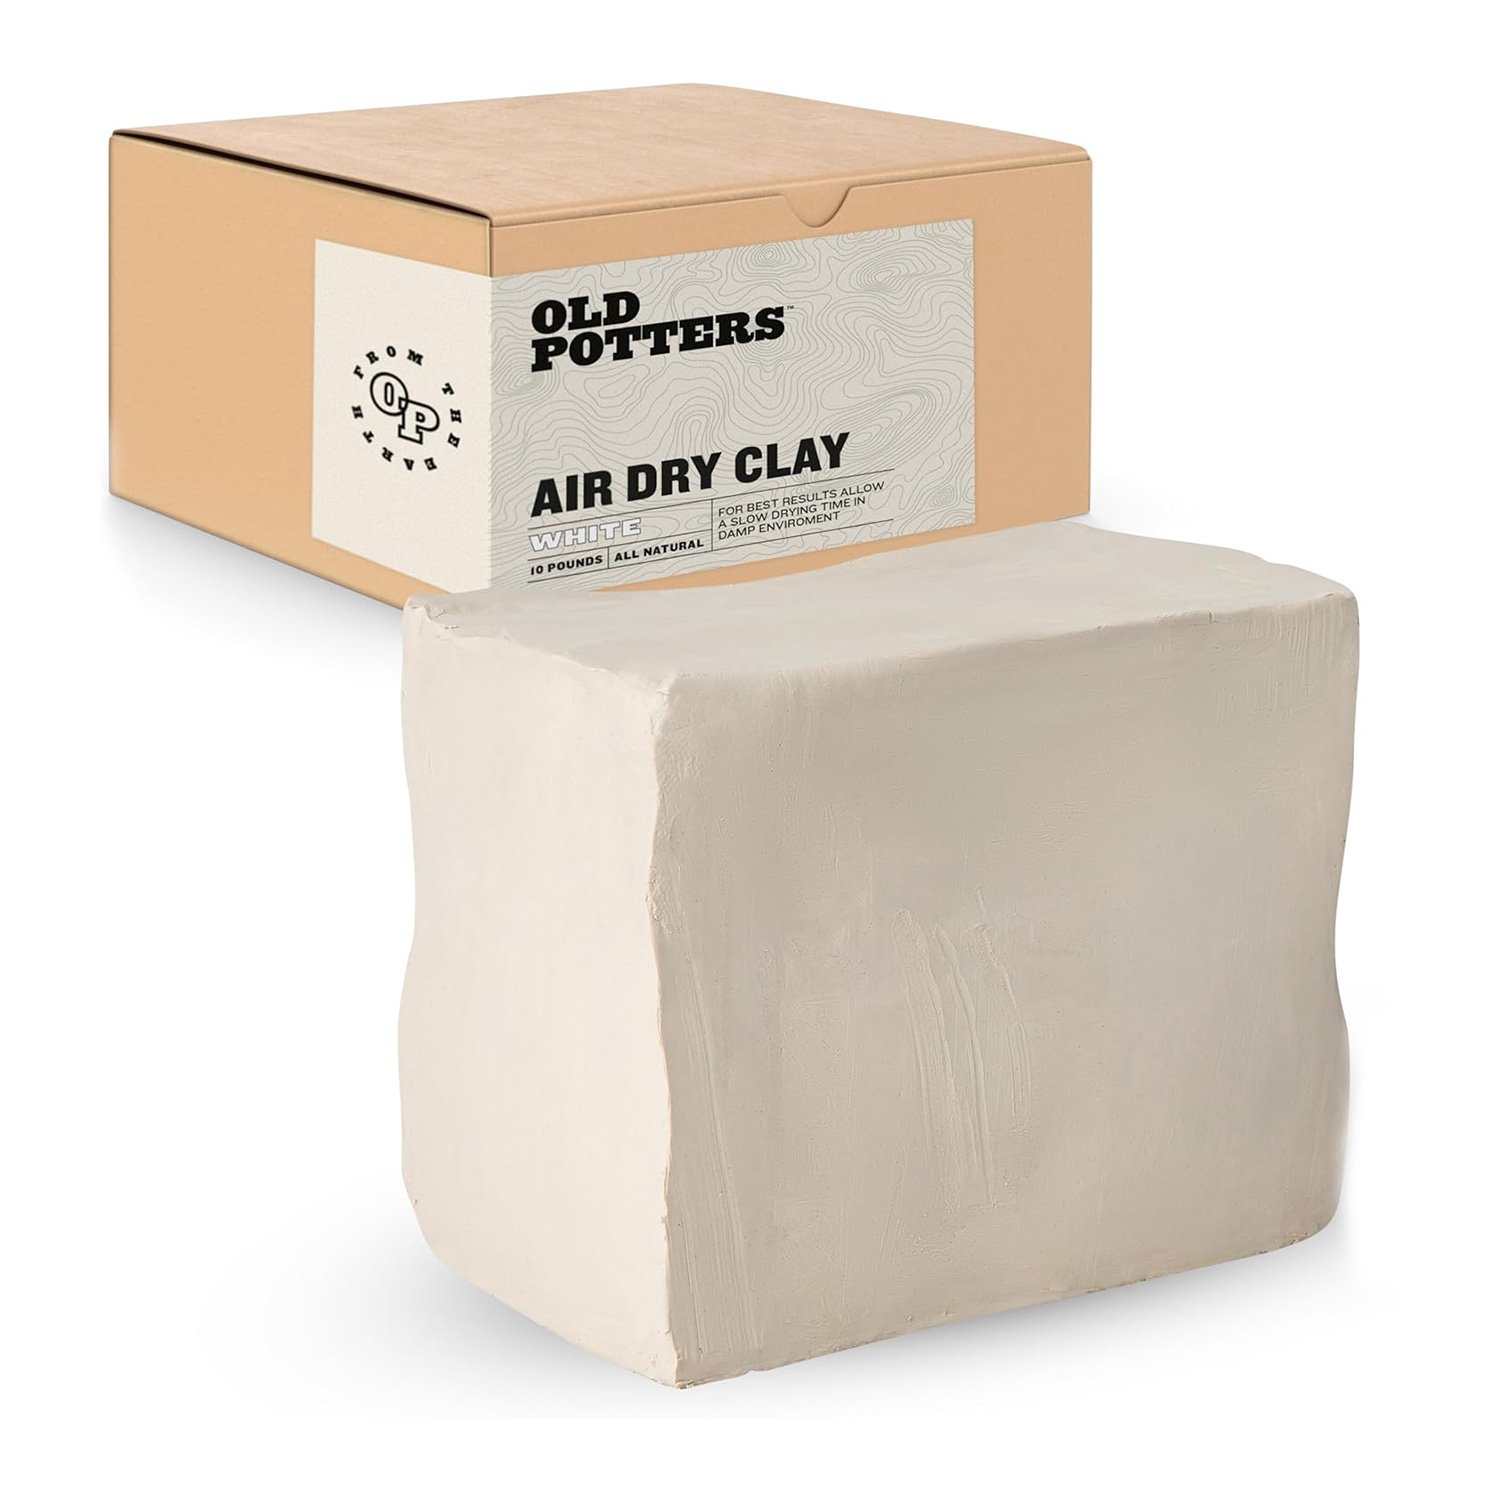
– Provide the Participant with air-dry or molding clay (colored or neutral).
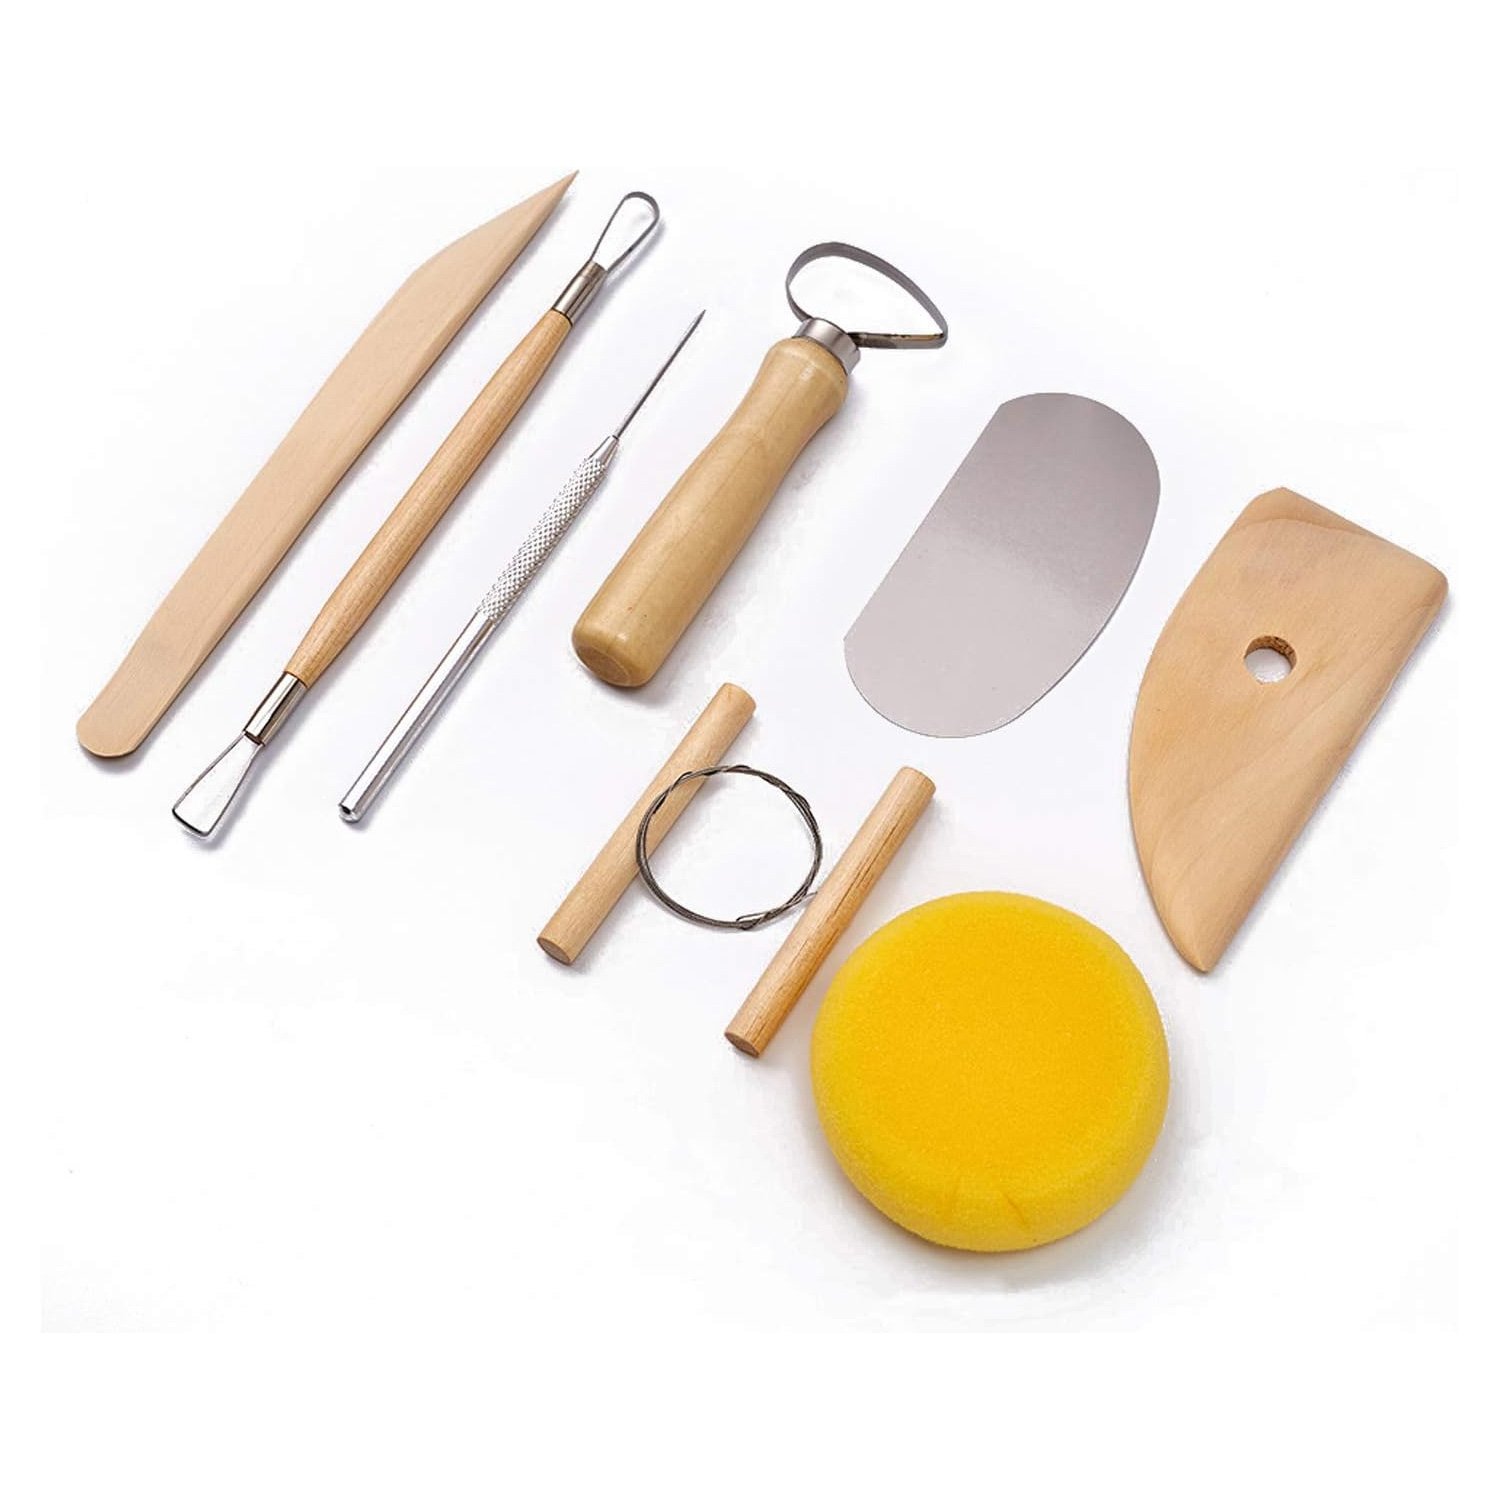
– Set out optional carving tools:
◦ Clay tool kit.
◦ Straw, plastic fork, spoon, toothpick.
◦ Buttons for adding texture.
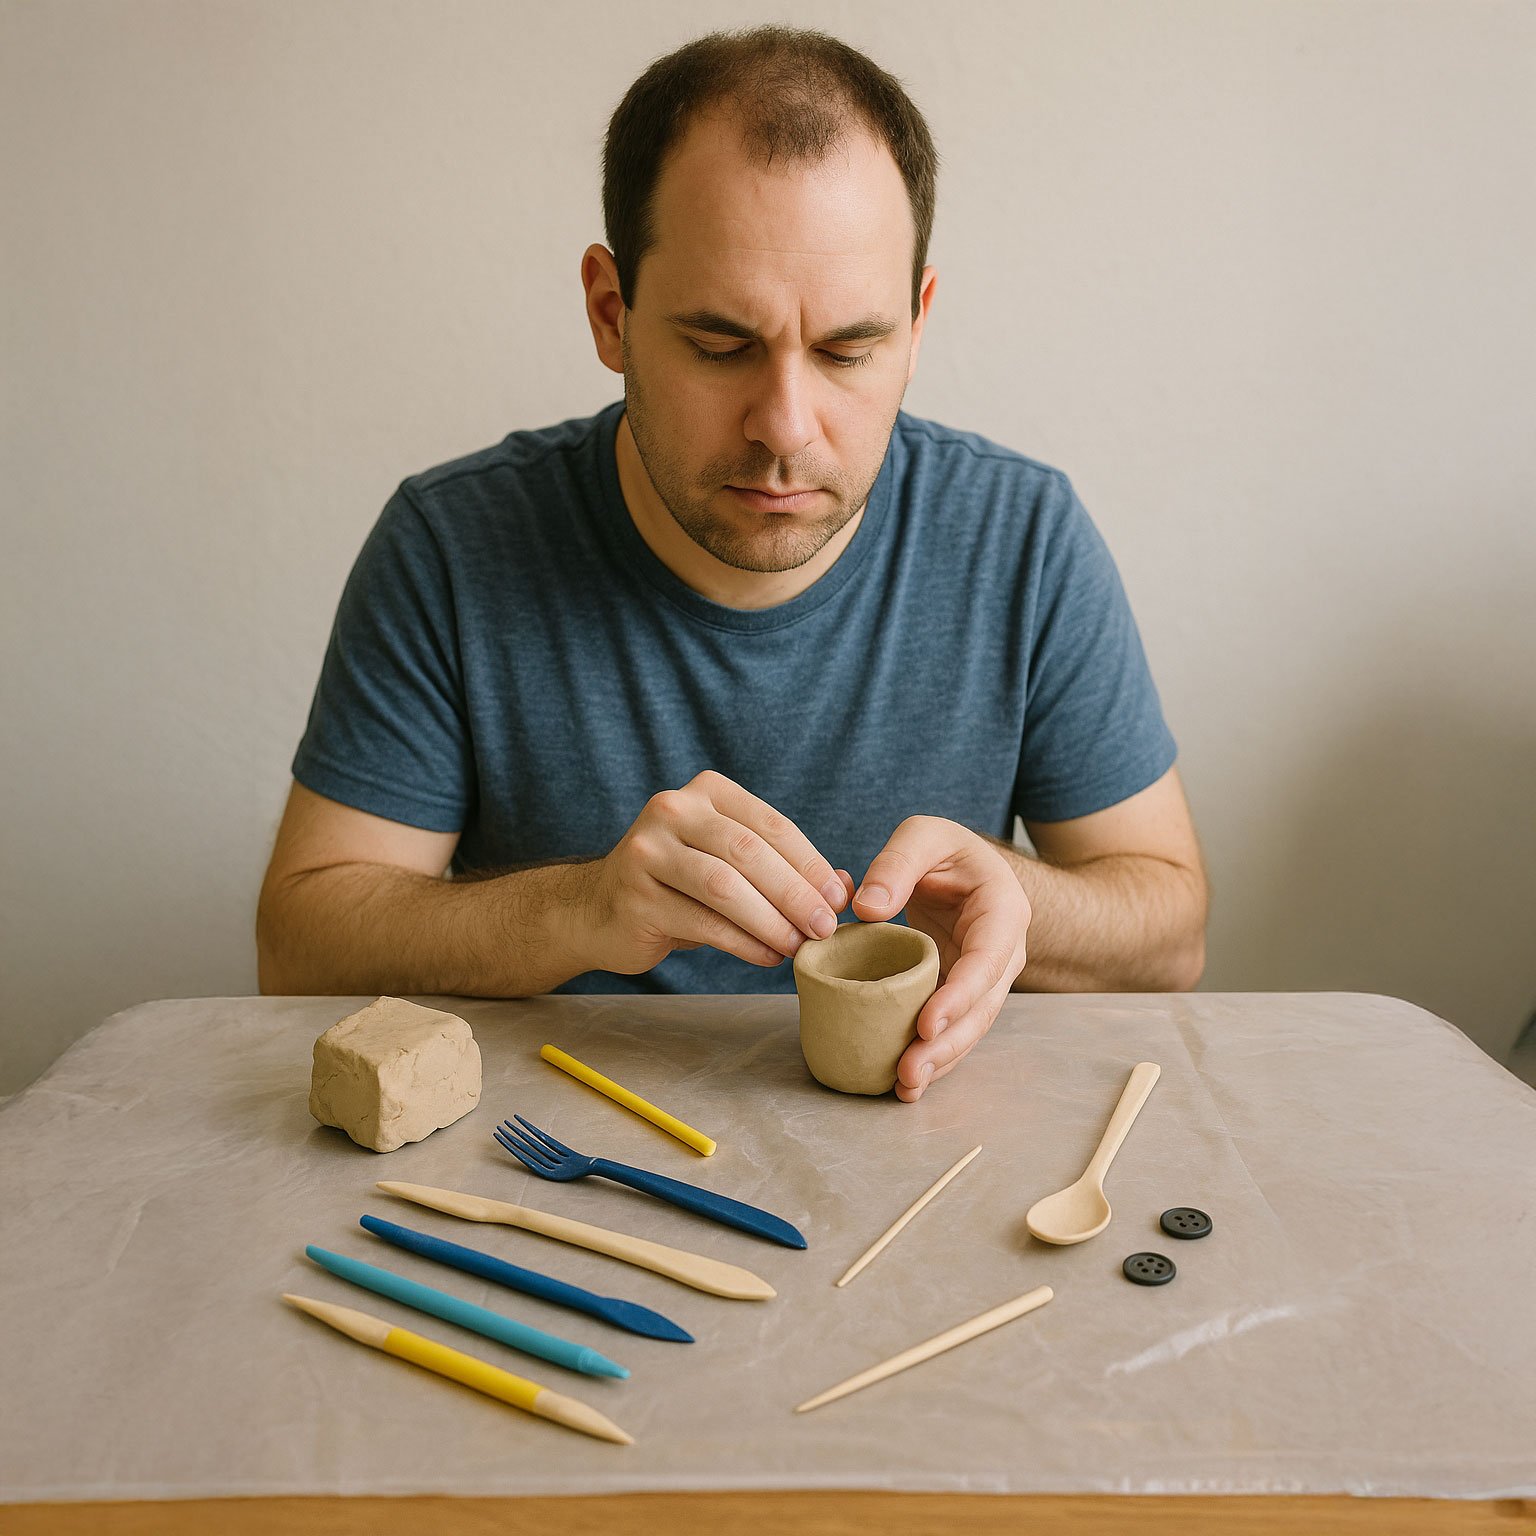
- Step 3: Create the Sculpture
– Encourage the Participant to mold a version of the object on the card or create something from their imagination.
◦ Suggest themes like small cups, masks, birds, or abstract designs.
– Demonstrate how to use tools to add texture and detail.
◦ Example: Use a fork to create lines or a button to make patterns.
- Step 4: Optional Additions
– Allow the Participant to create a collection of objects (e.g., a set of small figurines or cups).
– Let the clay air dry (if applicable) for long-term preservation.
Tips for Success:
- Encourage free thought and creativity—the process is more important than the outcome.
- Praise effort and unique ideas to build confidence.
- Adjust complexity based on the Participant’s skill level.
Enjoy shaping and sculpting unique creations together!
Materials Needed:
- Air Dry Clay or Molding Clay (Colored or Neutral)
- Plastic placemat
- A variety of Clay tools (clay tool kit, straw, plastic fork, end of spoon, toothpick, buttons…)
- Wax paper (optional)
- Object Picture Cards