How to Do:
1. Setup:
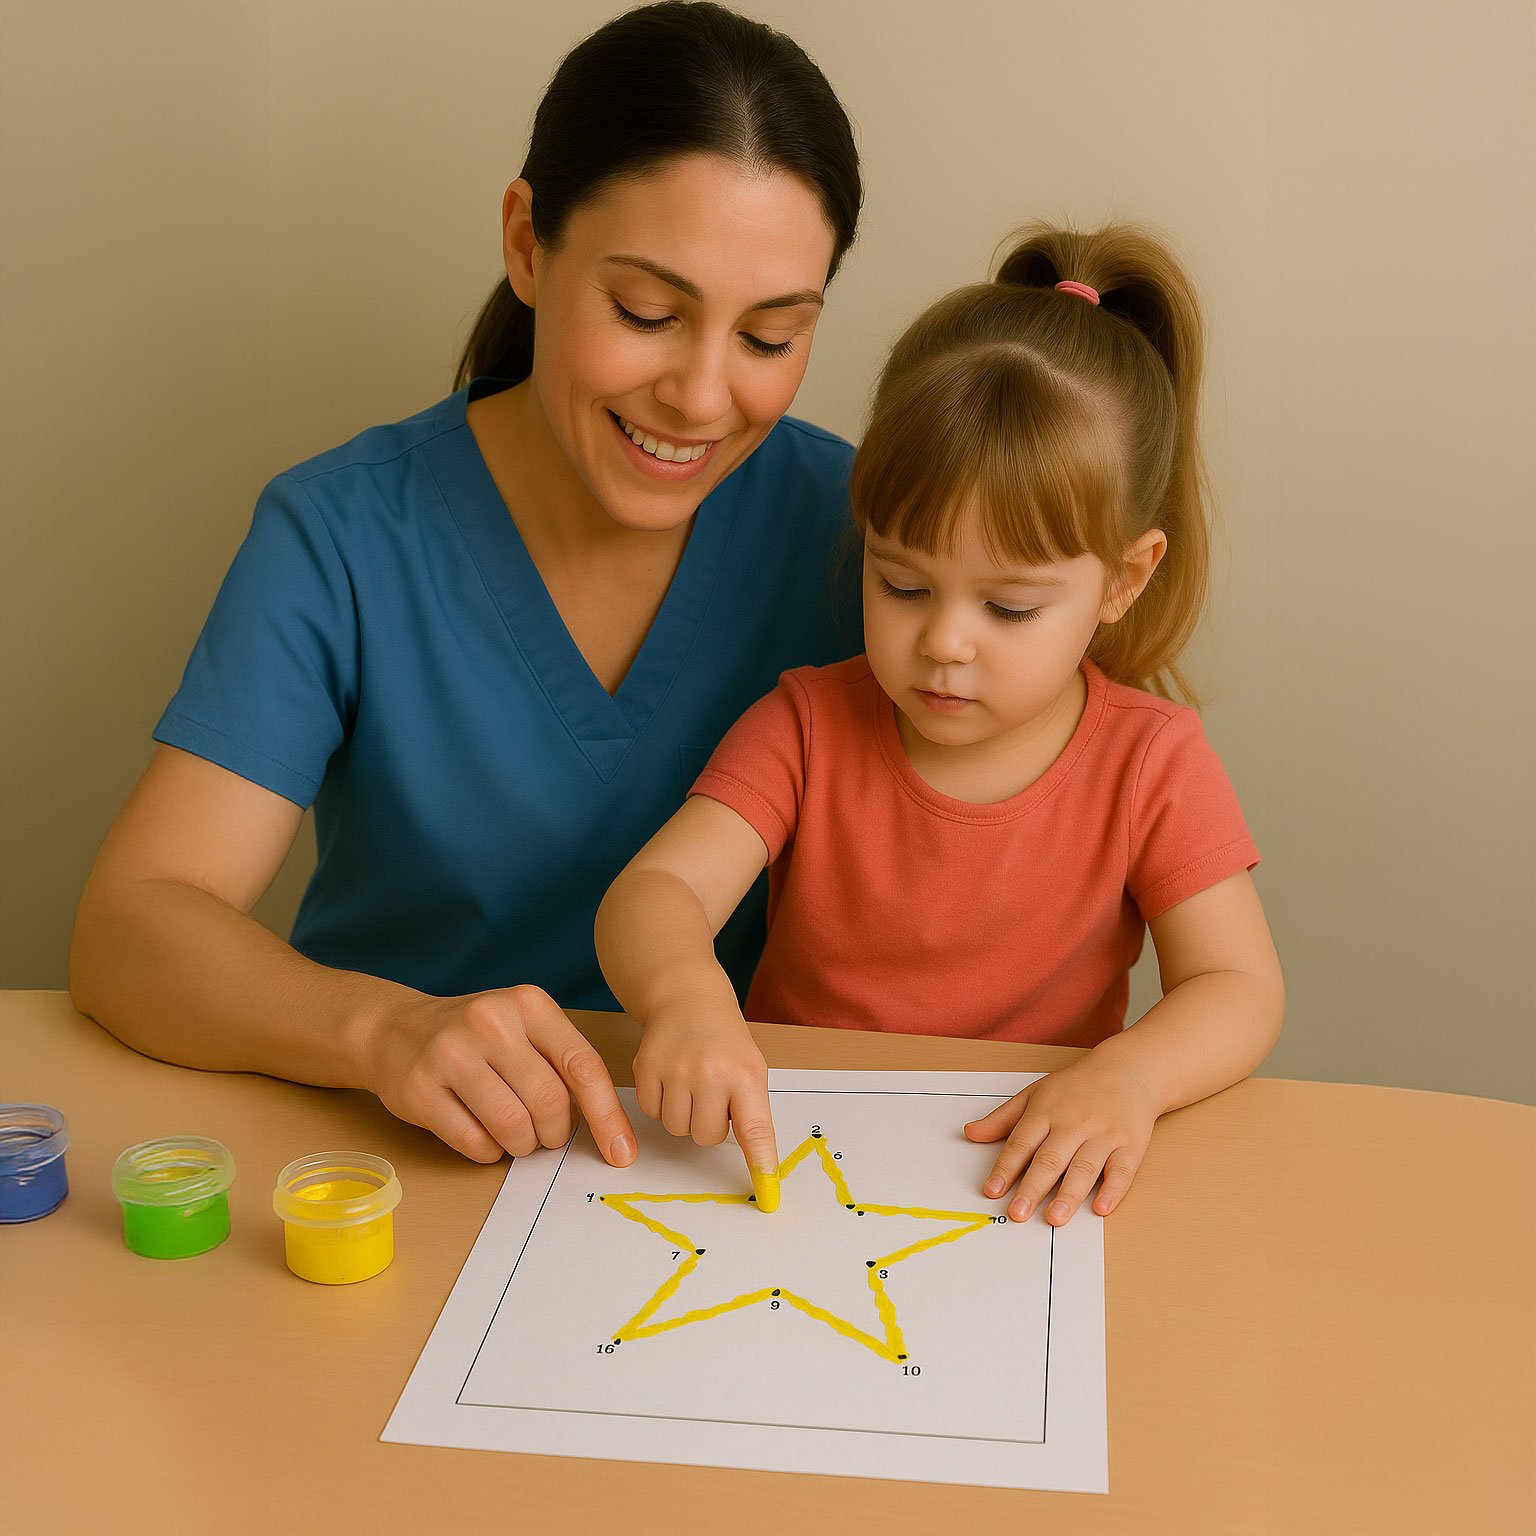
- Gather materials: Connect the Dots Activity Book or printable sheets, pencils, pens, crayons, or markers. Optional: Finger paint or small paintbrushes for added creativity.
- Create a comfortable workspace: choose a well-lit area with a flat surface.
2. Activity Steps:
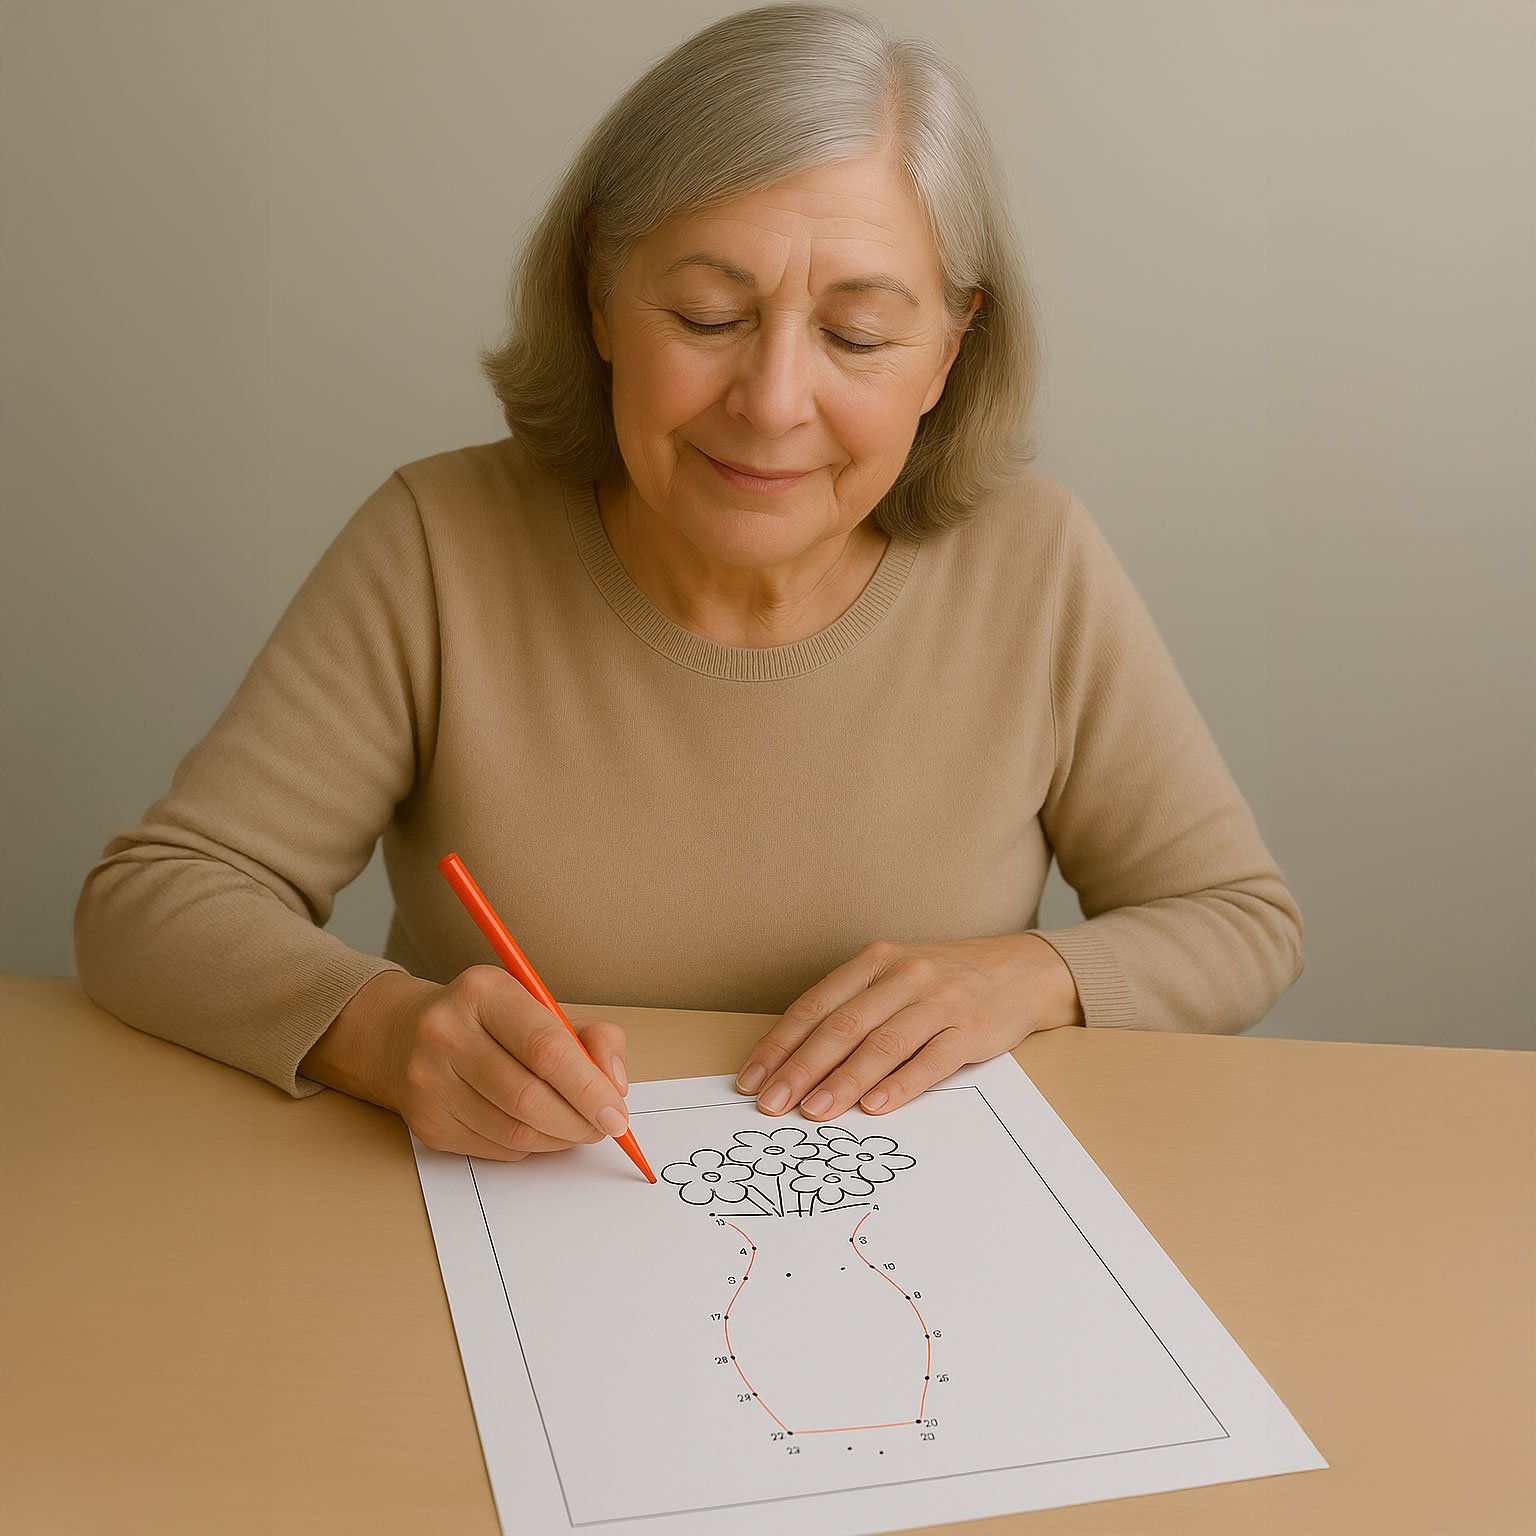
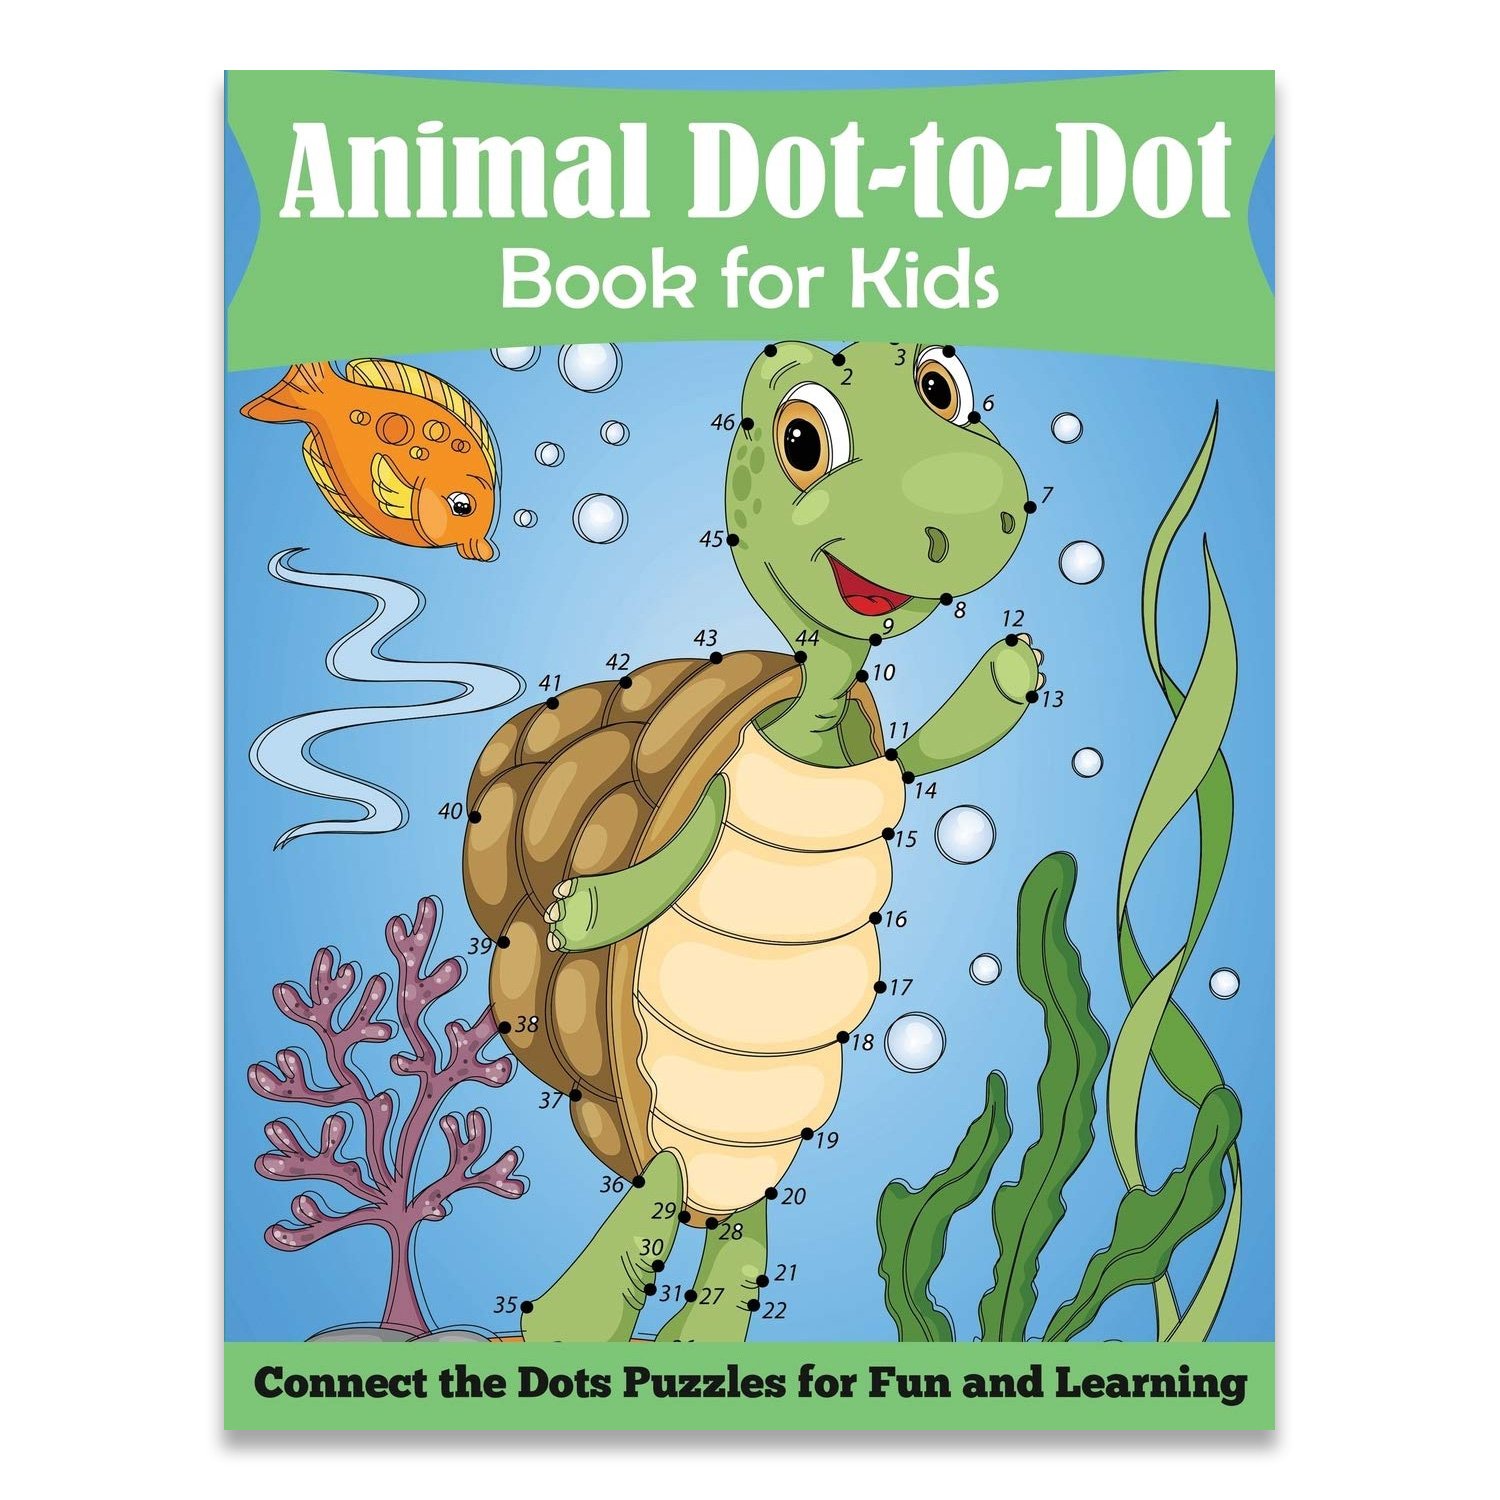
- Step 1: Connect the Dots
– Start with instructions:
◦ Explain how the dots are numbered or lettered in sequence.
◦ Encourage the participant to begin at the smallest number (or the first letter of the alphabet).
– Connect the dots:
◦ Draw a line from one dot to the next, following the sequence.
◦ Continue until all dots are connected, revealing a hidden image.
- Step 2: Add Creative Touches
– Color the picture:
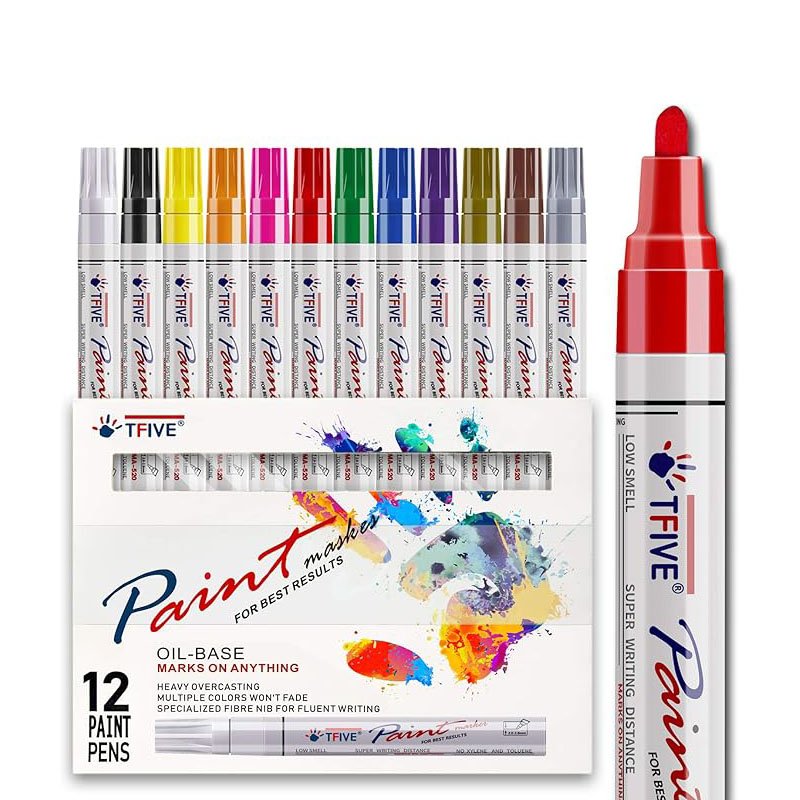
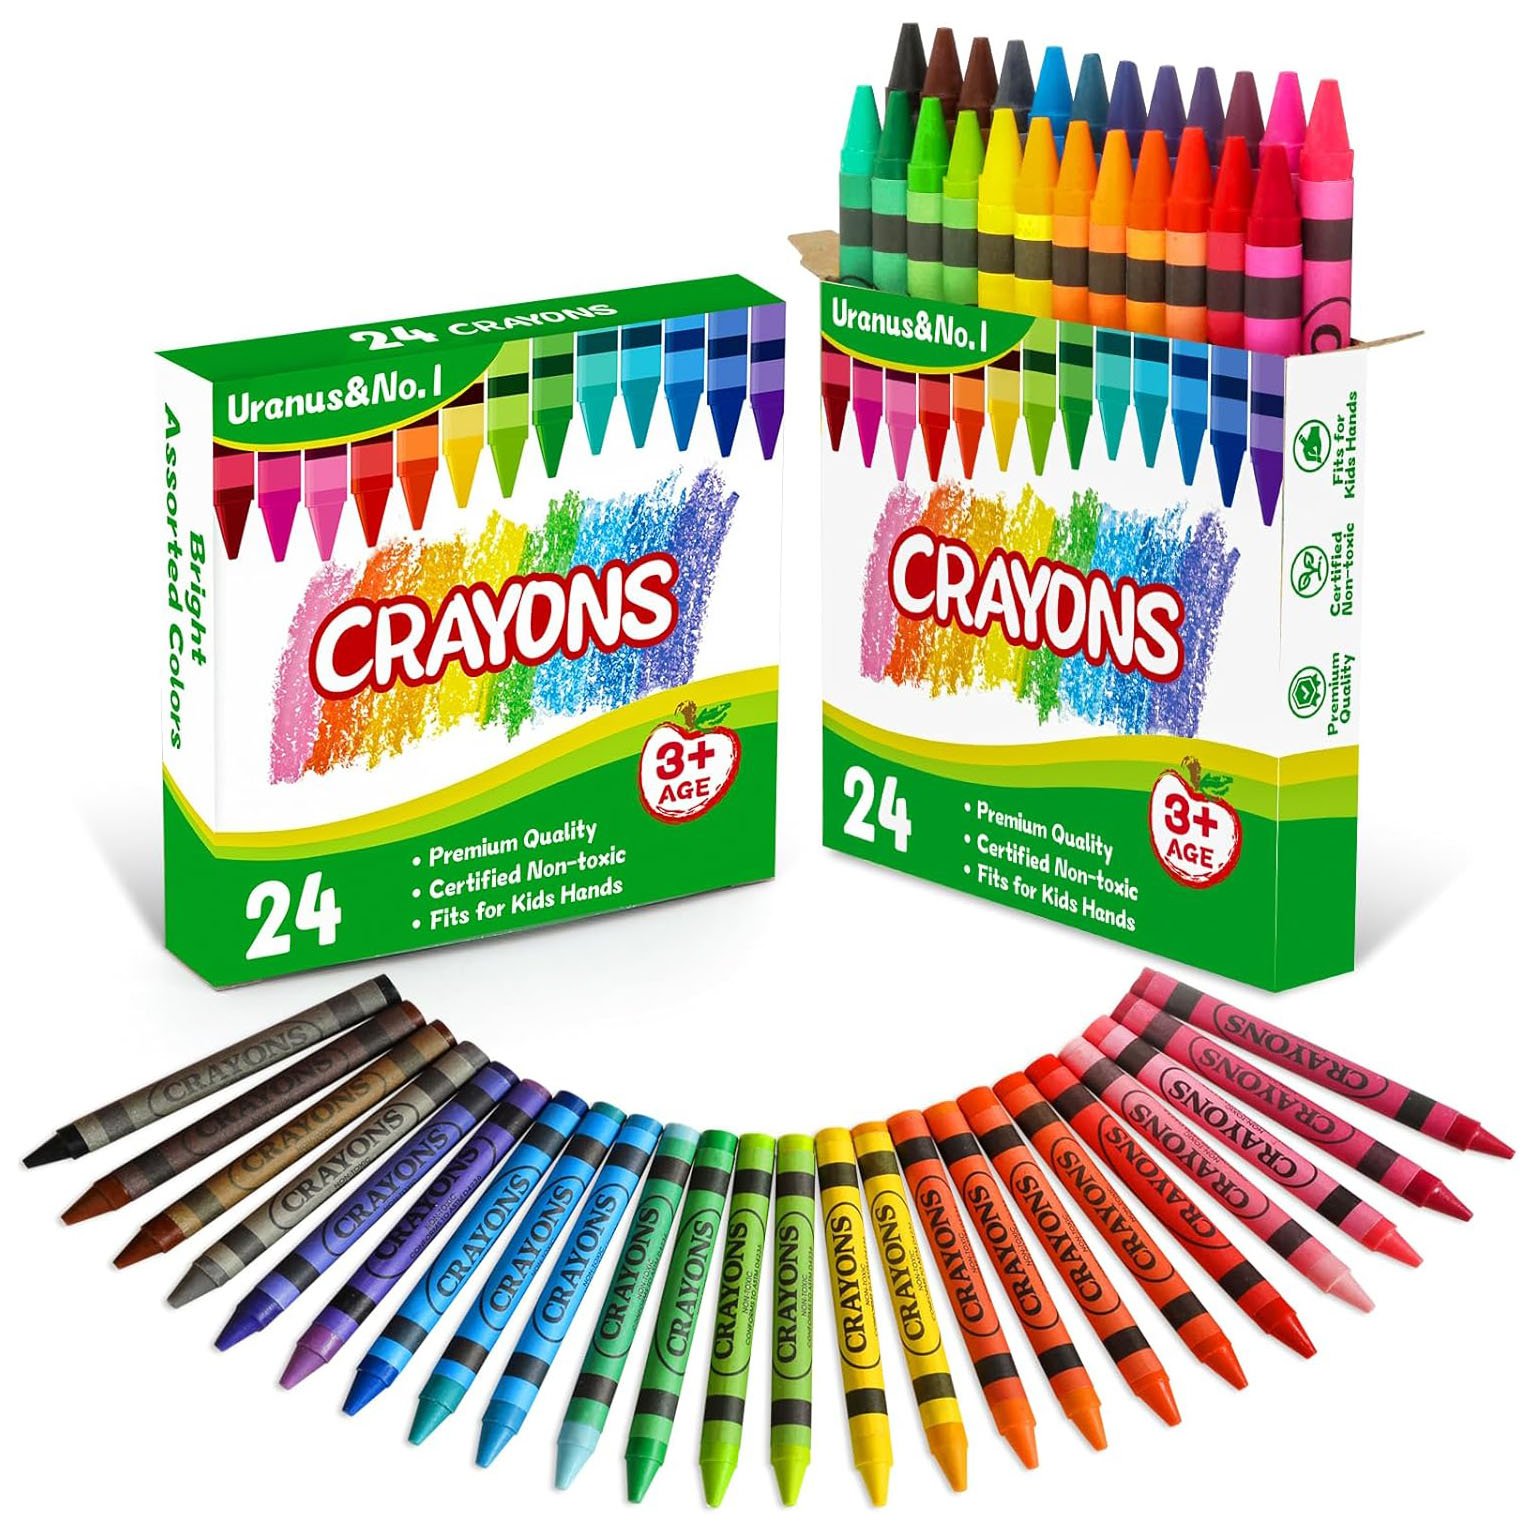
◦ Use crayons, markers, or paints to bring the picture to life.
◦ Encourage imaginative color choices.
– Enhance the image:
◦ Add patterns, designs, or a background to make the picture unique.
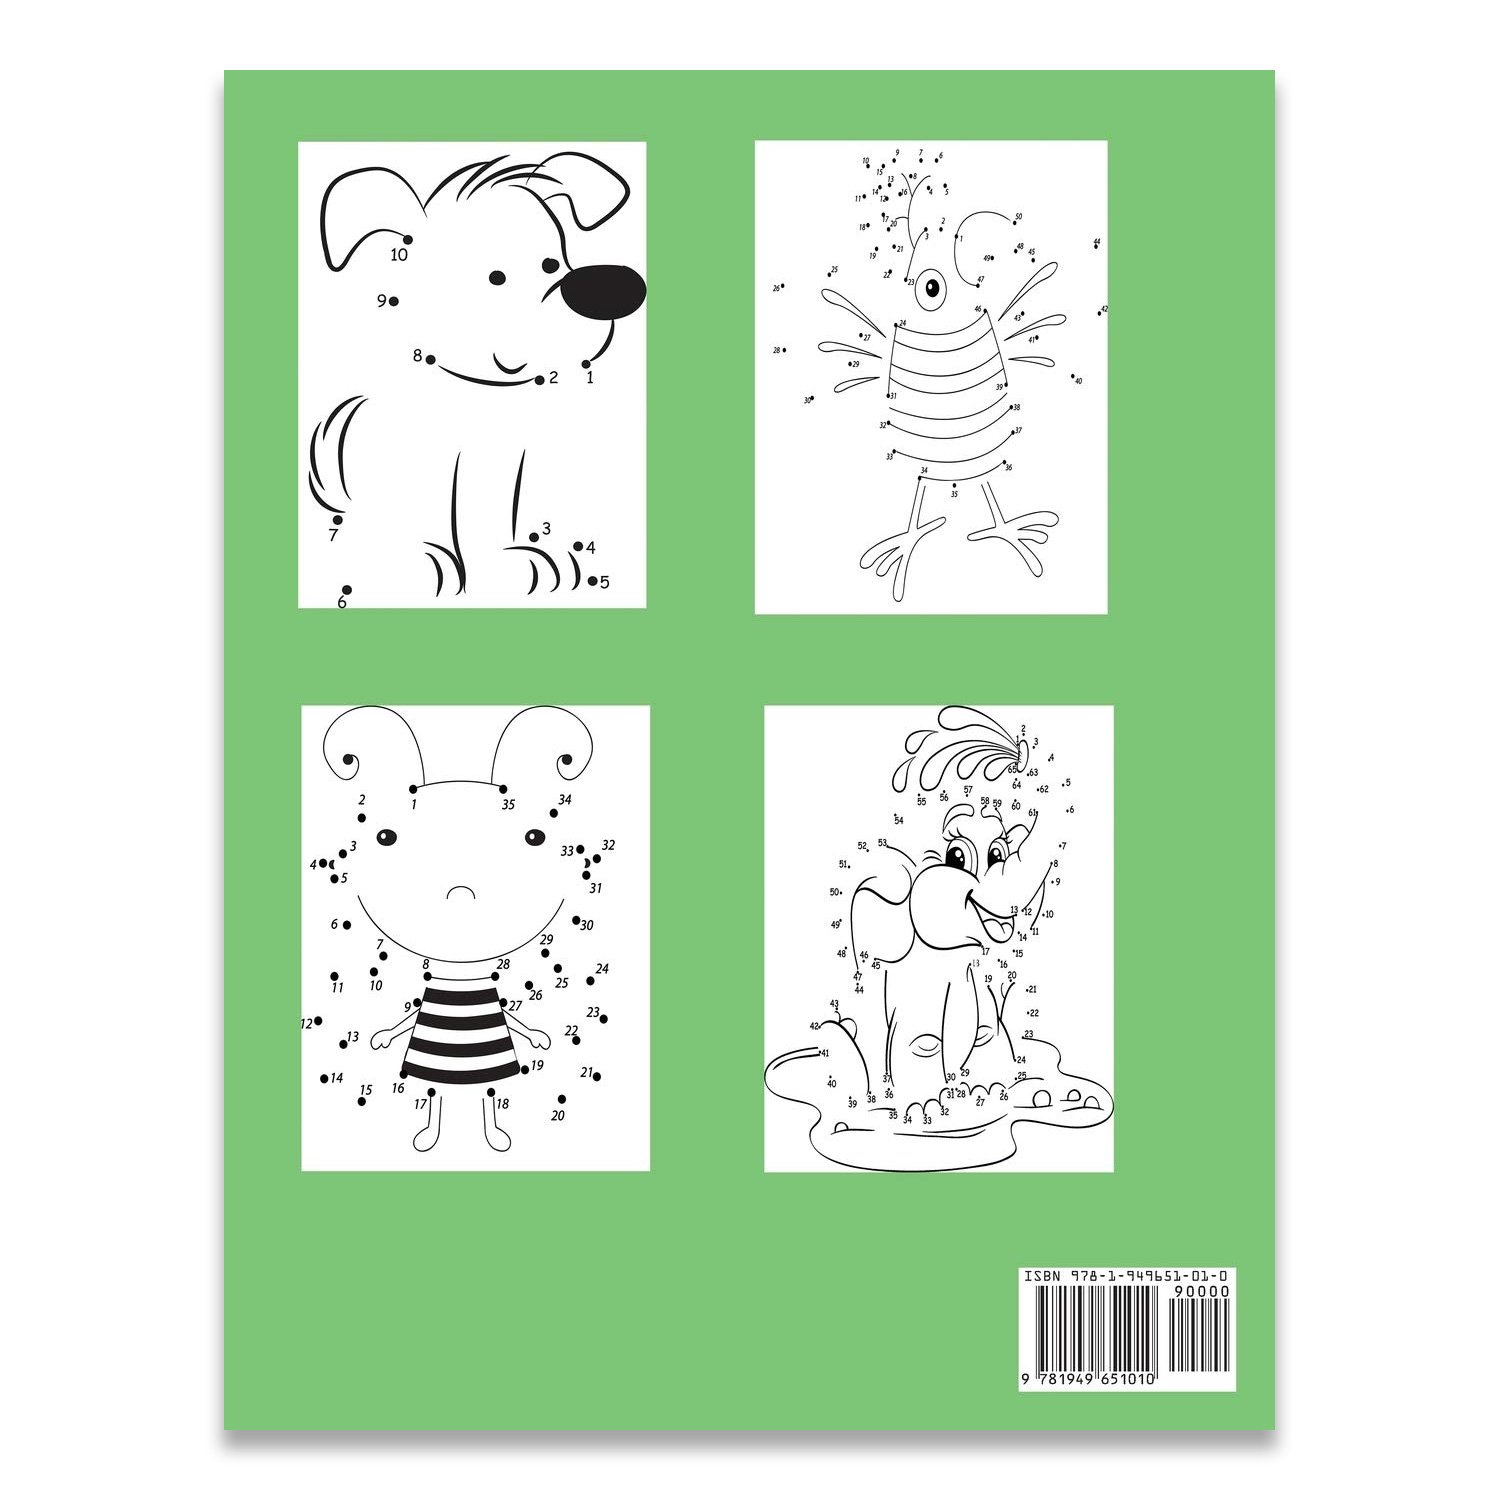
3. Variations for Specific Audiences:
- Young Children:
– Use simpler designs with larger dots and fewer connections.
– Focus on basic counting or alphabet practice.
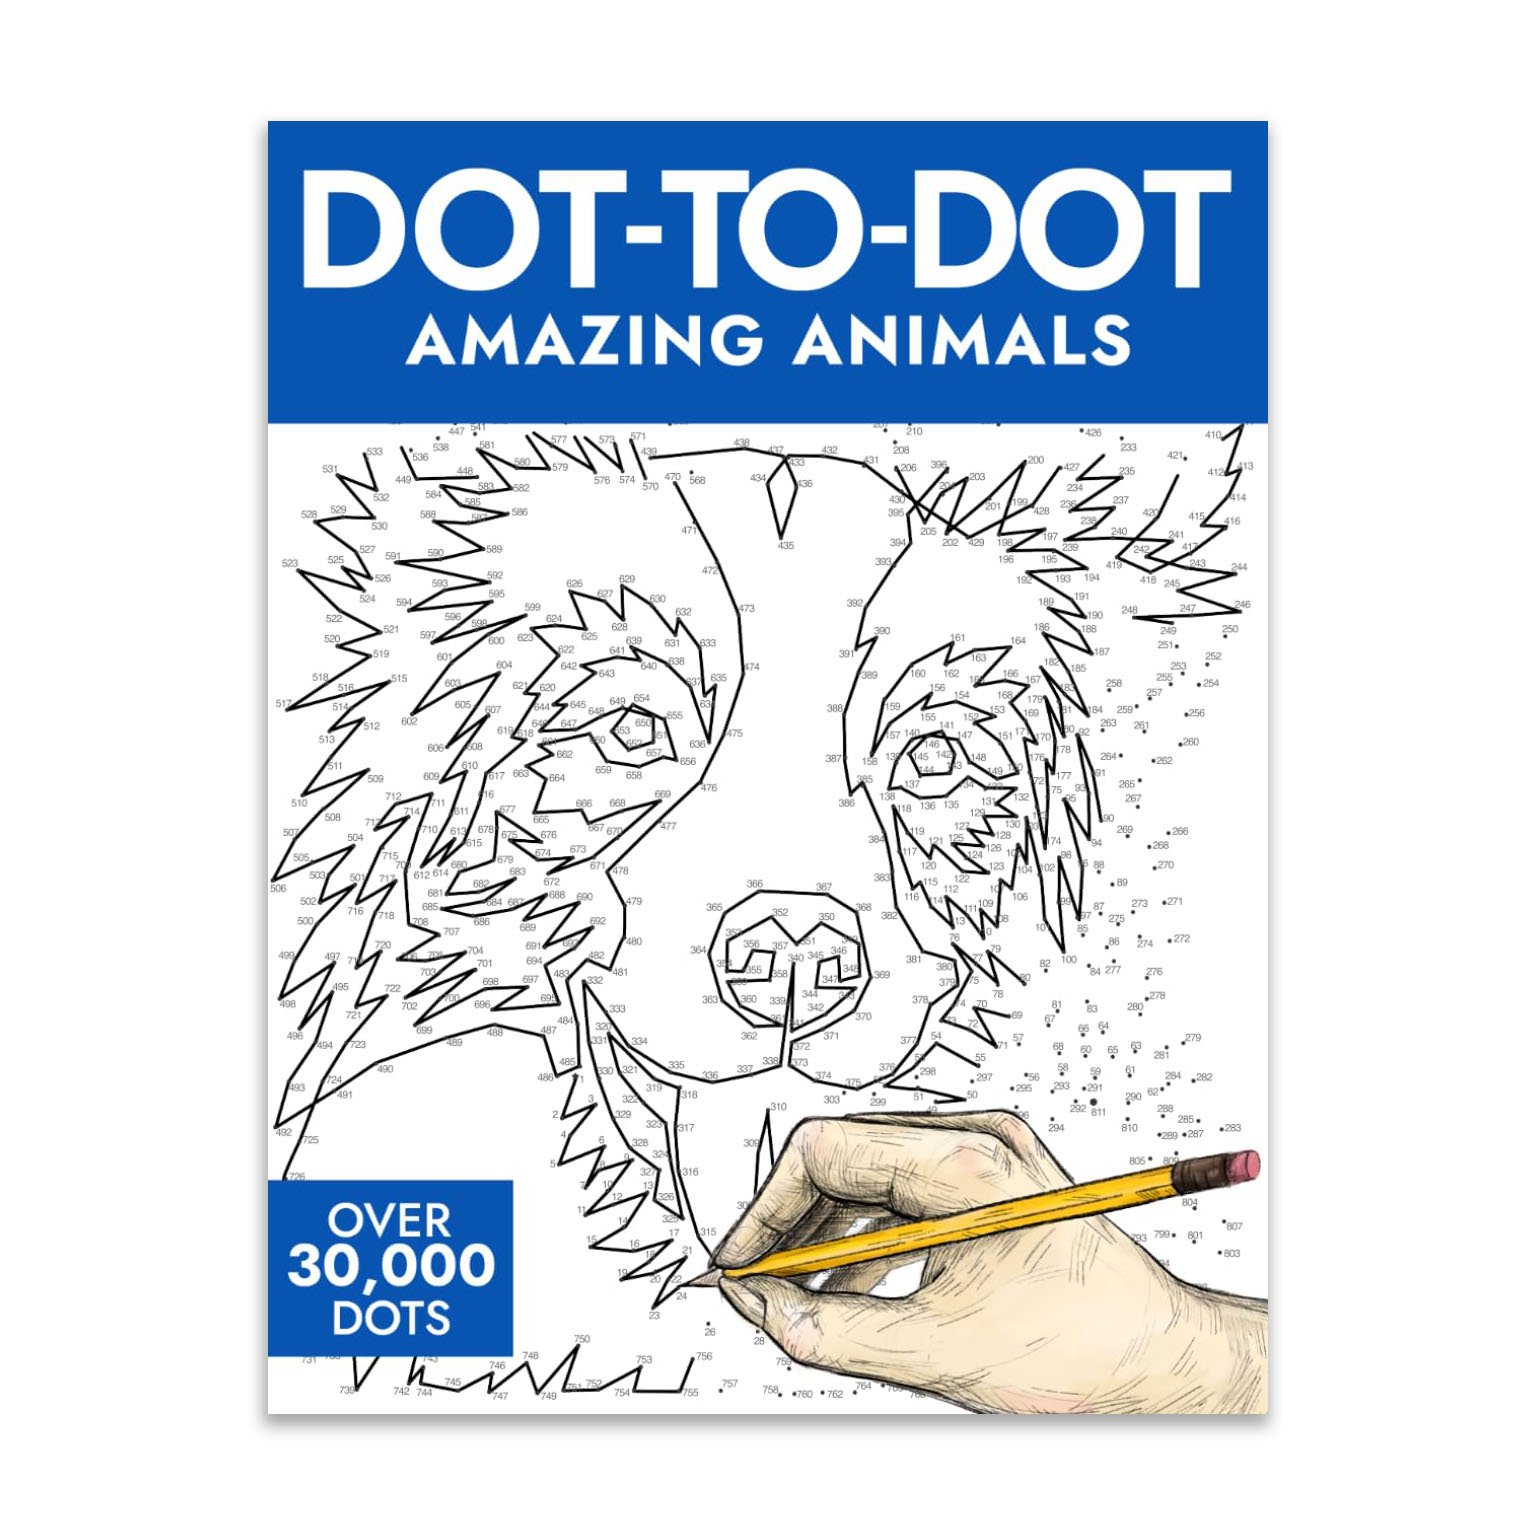
- Older Kids or Adults:
– Introduce challenges like skipping numbers, reverse orders, or hidden clues.
– Add a storyline about the picture they’re creating.
- Educational Focus:
– Incorporate trivia questions or fun facts related to the completed image.
– Practice math or spelling skills by solving problems to find the next dot.
Tips for Success:
- Encourage creativity: Let participants add personal touches to their artwork.
- Provide support: Offer help if needed with sequences or instructions.
- Celebrate completion: Admire the finished picture together!
Enjoy the surprise and let creativity shine!
Materials Needed:
- Connect the Dots Activity Book
- Paper
- Crayons
- Markers
- Finger paint
- Small paintbrush